Museum Visualisations
Role: Project lead, Historical Research, Pre-Production, Production & Post-Production
Co-created in partnership with the Chau Chak Wing Museum, University of Sydney
Re-animating Mer-Neith-it-es:
The Mummy Project
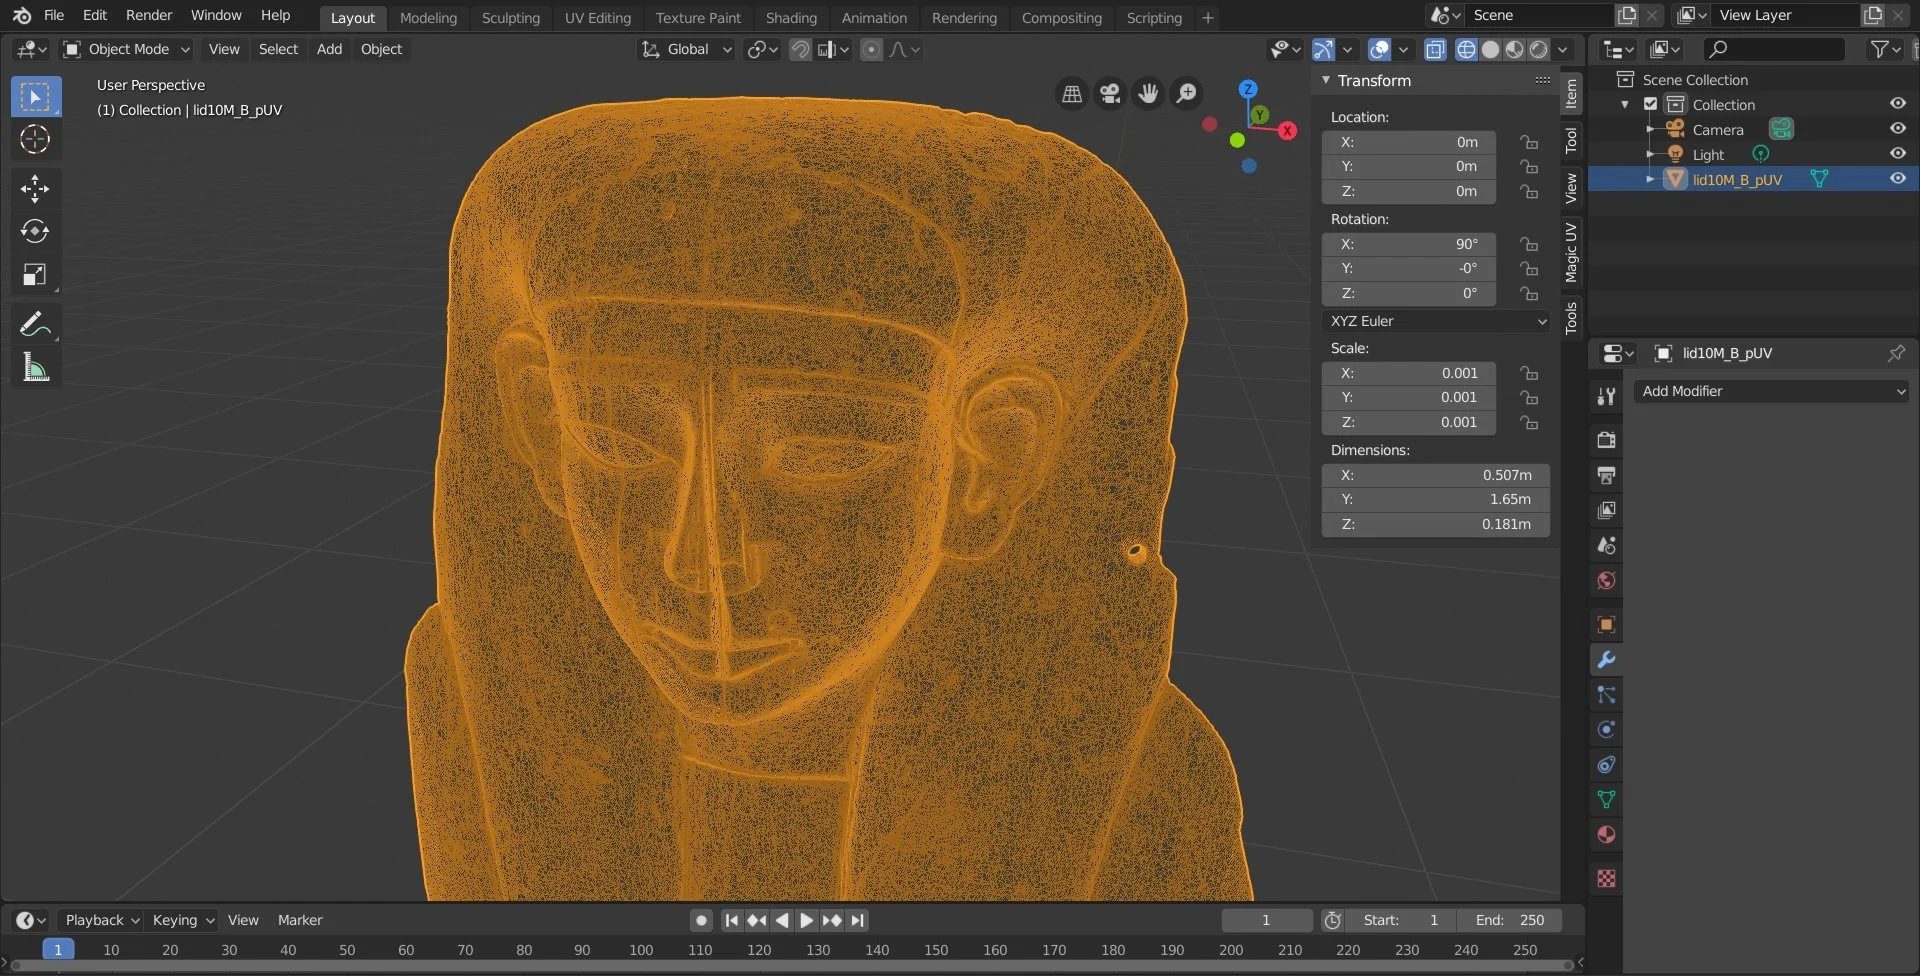
In 2018 the discovery of a partially preserved mummy inside a faded 2600-year-old sarcophagus at the University of Sydney’s Nicholson Museum gained international media attention. Senior curator, Dr. James Fraser, immediately gathered a cross-institutional team of researchers with the goal of revealing more about the occupant, a priestess of the temple of Sekhmet, Mer-Neith-it-es. I was asked to digitally re-colour a high-definition 3D scan of the sarcophagus and produce an educational animation for museum display. The task was undertaken with the assistance of colleagues, Dr. Andrew Howells and Luke O’Donnell, along with archaeologists (USyd), Egyptologists, radiologists (Macquarie University) and a team of scientists from Sydney Analytical, who helped to determine the original pigment colours through FTIR reflectance spectroscopy (infrared), Raman spectroscopy and pXRF analysis.

A Collaborative Process
We gathered comparative examples, and created a plausible digital re-colouring of the faded sarcophagus. The first stage involved the use of D-Stretch to enhance the faded pigments and identify the hieroglyphs and iconographical elements. This was followed by a process of tradigital illustration - a unique style we developed to allow for a sympathetic digital re-colouring and pleasing final aesthetic.

Creative and Educational Museum Display
The digitally re-coloured sarcophagus can now be viewed via an informative animation placed above the original cedar coffin - allowing viewers to compare the two. It is on permanent display in the award winning Mummy Room in the Chau Chak Wing Museum at the University of Sydney.

Thutmose III Museum display
During the process of creating the Mer-Neith-it-es animation, we were asked to produce a museum display that contextualised an important fragment from the Thutmose III wall mural. The carefully researched and illustrated background, which was displayed life-size, placed the solitary fragment within its larger historical setting.
